Experience the seamless blend of ChatGPT and Speechki's state-of-the-art text-to-speech technology with the Speechki ChatGPT Plugin.
Dive deeper into the world of Speechki by visiting speechki.io and stay informed about the latest updates and roadmap of the plugin on Twitter.
Dive deeper into the world of Speechki by visiting speechki.io and stay informed about the latest updates and roadmap of the plugin on Twitter.
How to get plugin access?
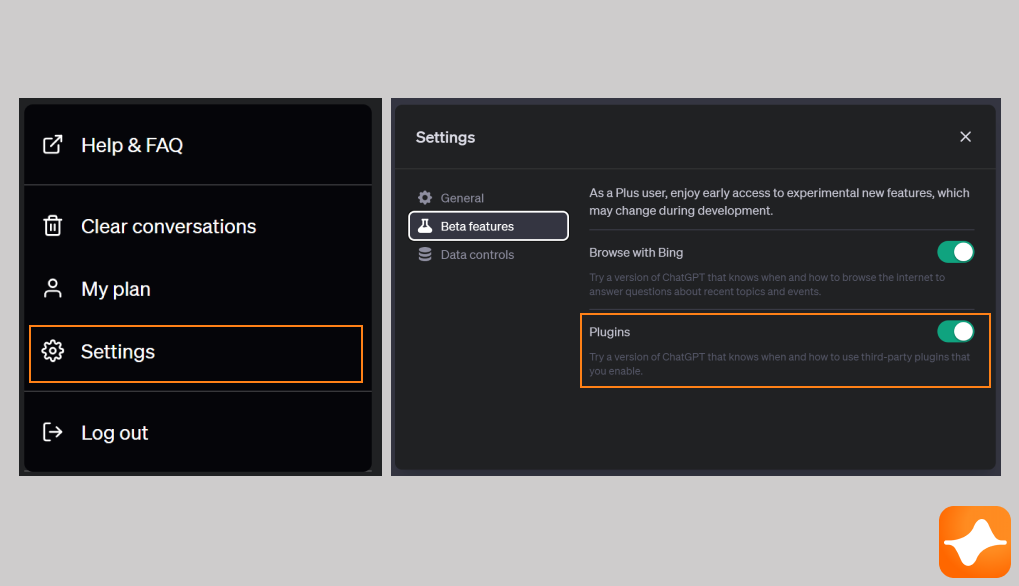
Currently, all ChatGPT Plus users have access to plugins. To activate plugins, navigate to the Settings tab under your username as shown here, then proceed to the Beta features section to enable plugins:
Install Speechki Plugin
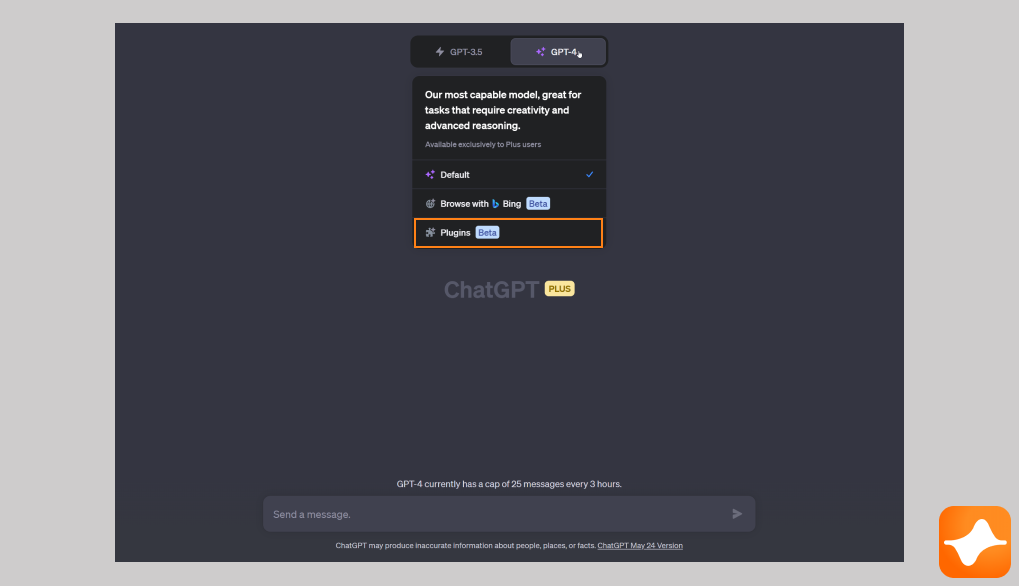
To install the Speechki plugin, you'll need to operate with the GPT-4 model and then choose Plugins (beta) from the dropdown menu as illustrated here:
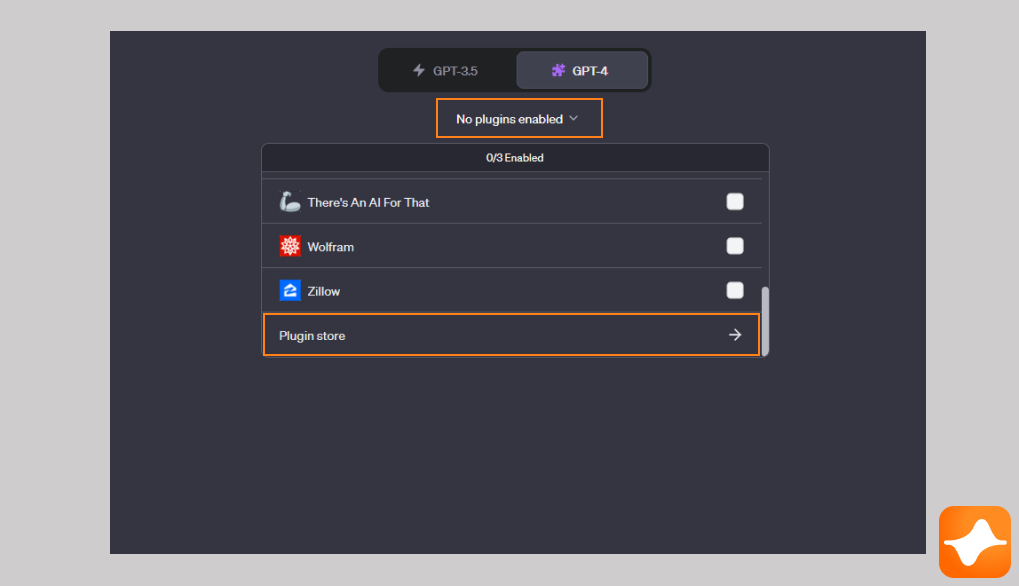
Once you've chosen the plugin model, you can begin installing plugins by clicking on the “No plugins enabled” dropdown. Select the "Plugin Store" option here:
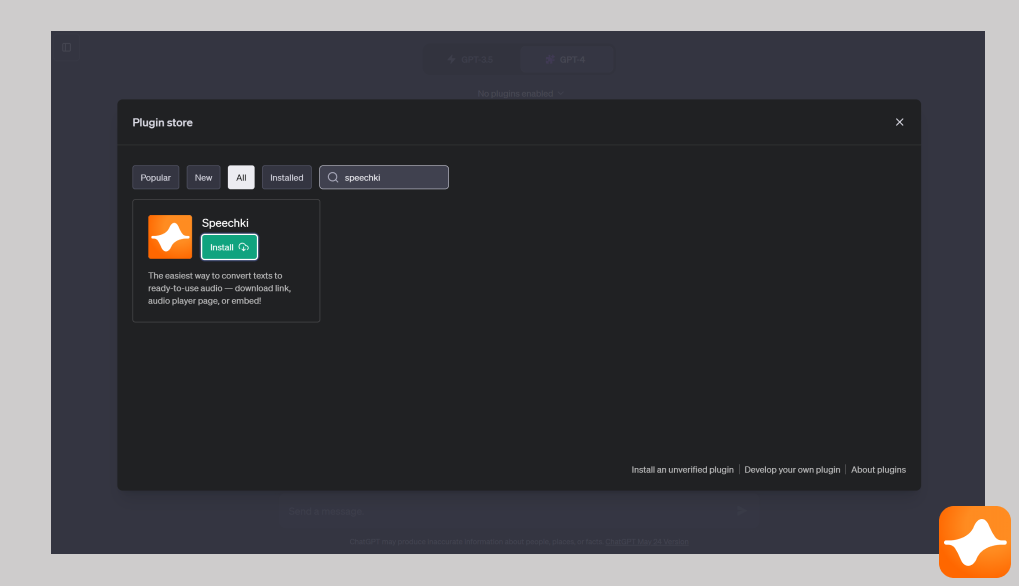
Search for the Speechki plugin:
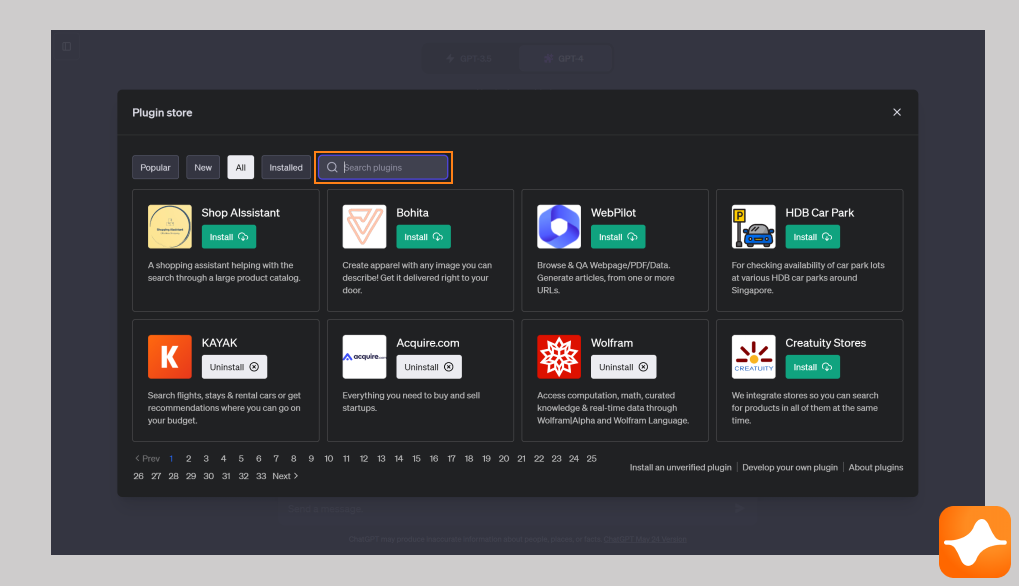
Сlick 'Install':
Start using the plugin
Before you can start enjoying the benefits of the Speechki plugin, you need to ensure that it is activated. Check for the plugin in your installed plugins list, which should be displayed in your plugin dropdown menu. The Speechki plugin should be listed there, and there should be a filled checkbox or an "activated" indicator next to it, which confirms that the plugin is active and ready to use.
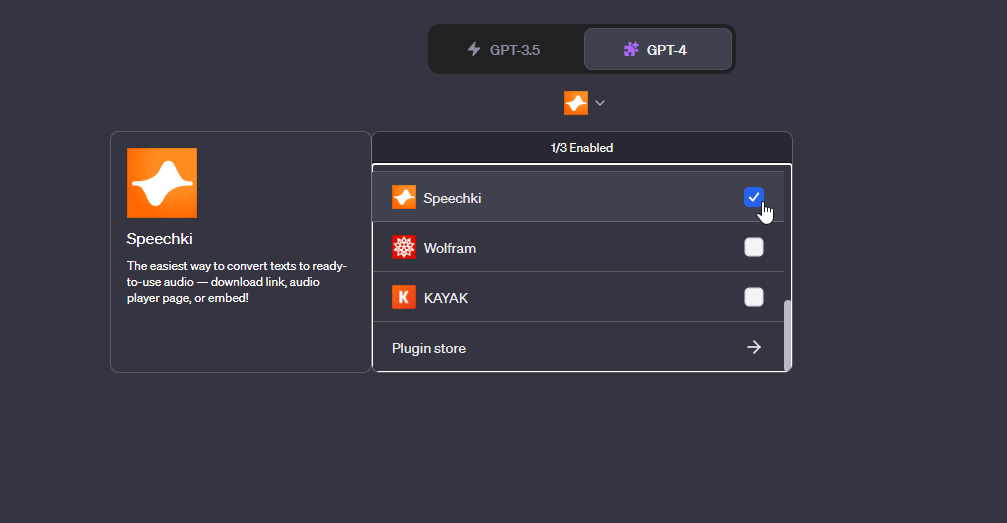
If you do not see this checkbox or it's not filled, click on it to activate the plugin. Remember, the plugin must be activated for you to start using ChatGPT to convert text into high-quality audio with the Speechki plugin.
Now you're all set to immerse yourself in the seamless blend of ChatGPT capabilities and Speechki's advanced text-to-speech technology.
Now you're all set to immerse yourself in the seamless blend of ChatGPT capabilities and Speechki's advanced text-to-speech technology.
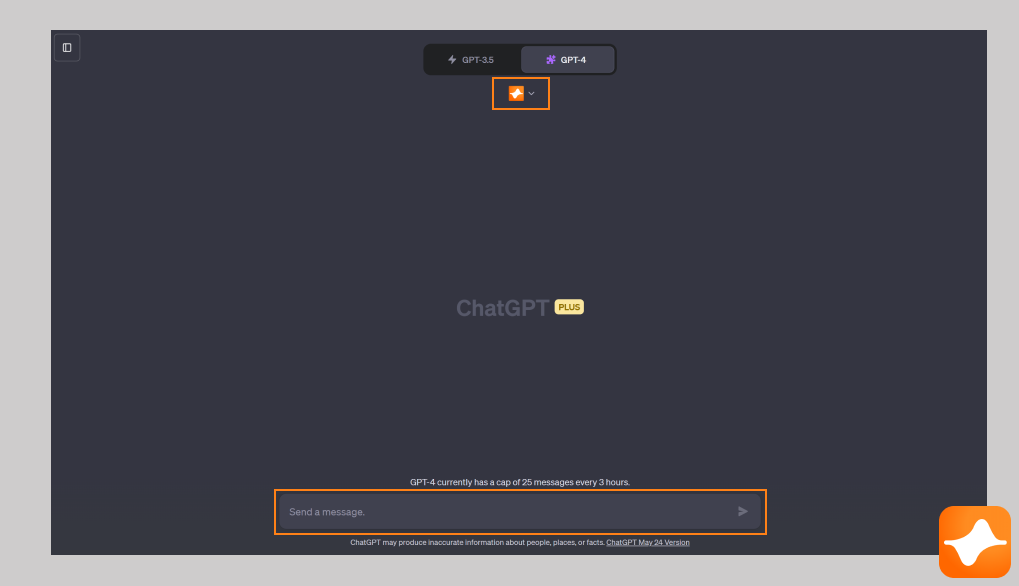
To get started, navigate to your chat screen and type in a prompt you'd like to hear in speech form, like: "Describe ChatGPT and provide an audio version." Press 'send' or hit enter.
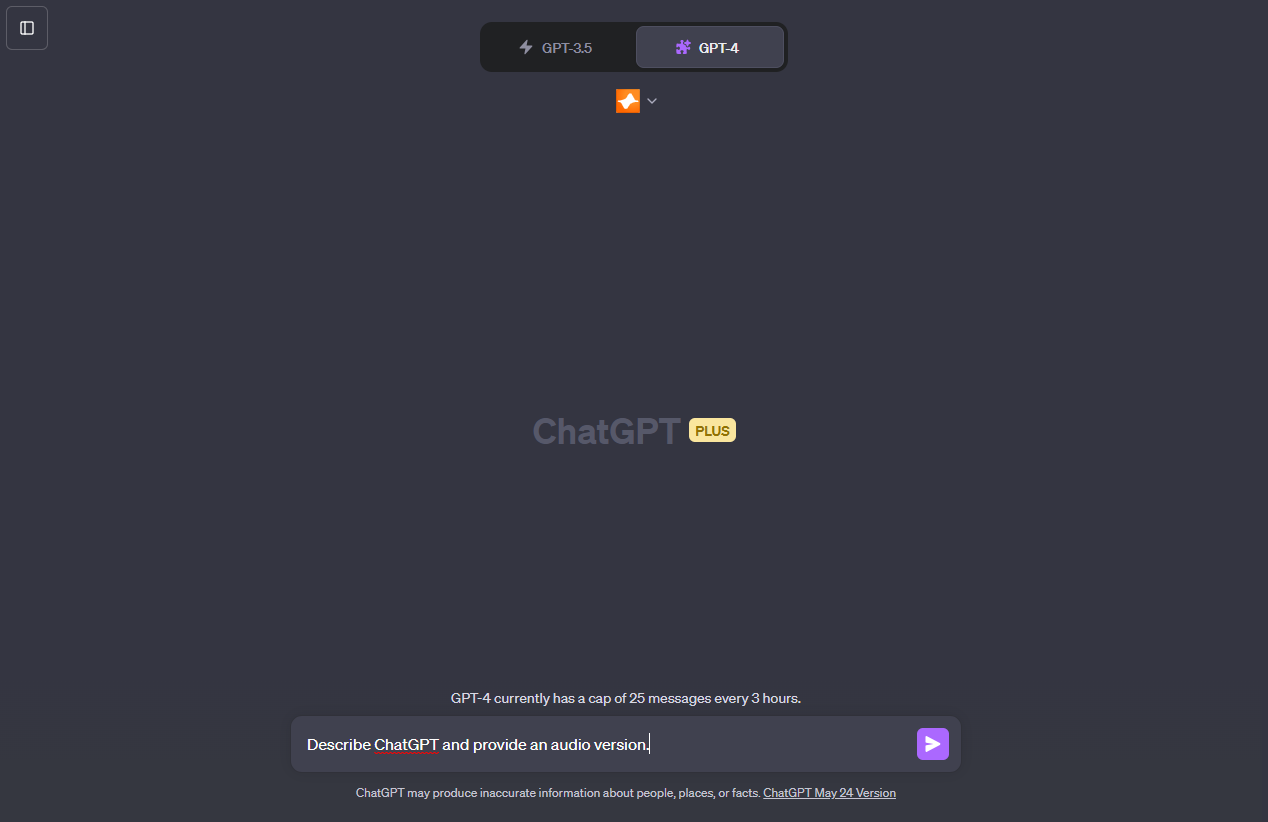
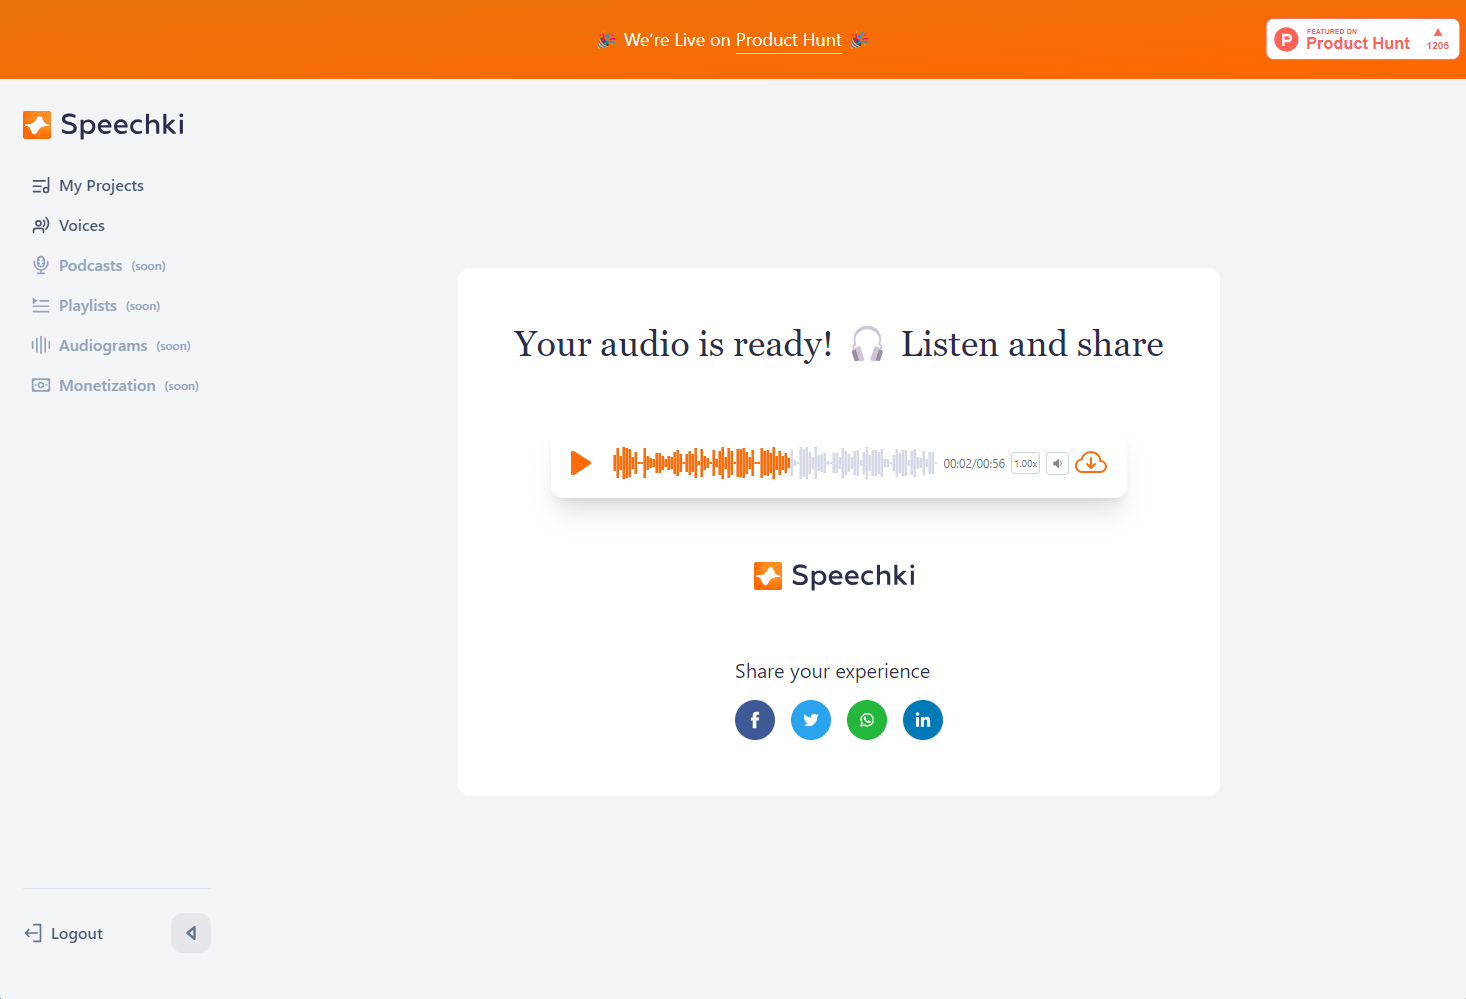
After you press 'send', the Speechki plugin will swiftly convert your text into audio within seconds. A response from the plugin will appear in the chat, containing a link to your generated audio file.
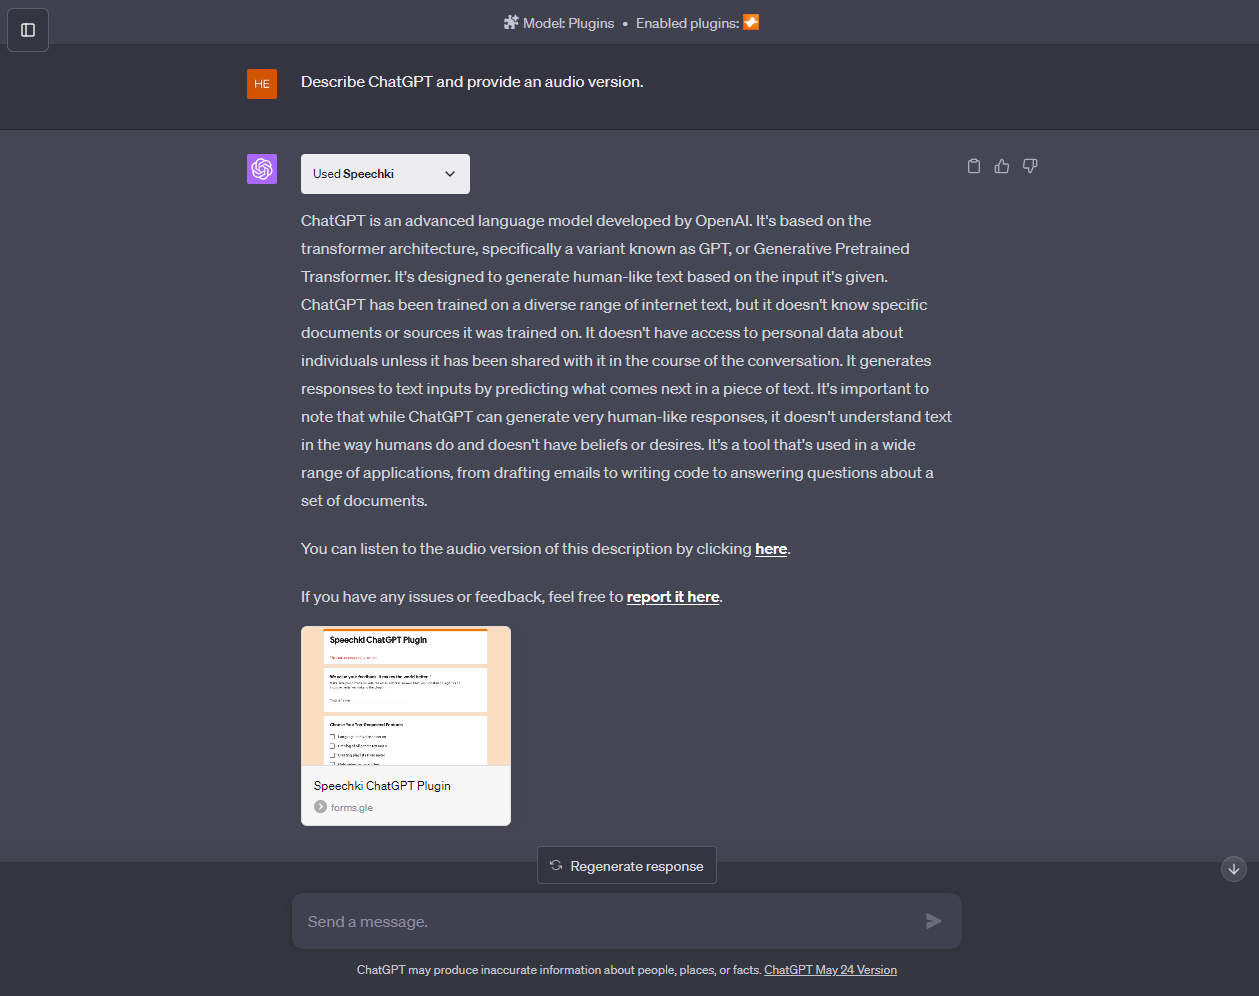
If you're not already registered with Speechki, clicking on the link will prompt you to sign up. You'll be asked to provide an email address and create a password.
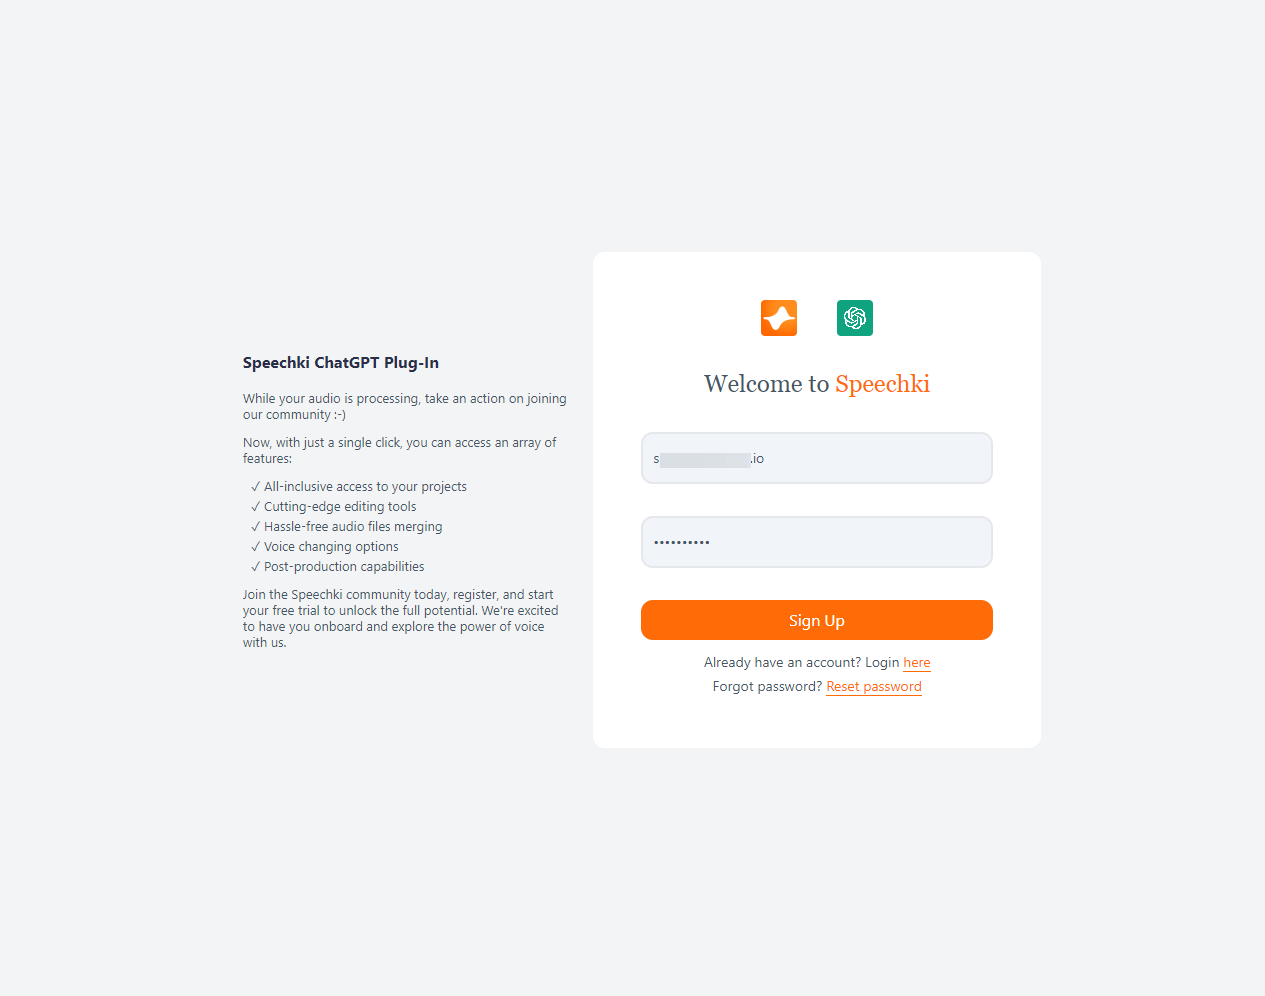
Once you've completed this registration, you'll be able to access and listen to your high-quality text-to-speech audio file through Speechki. Enjoy the experience!
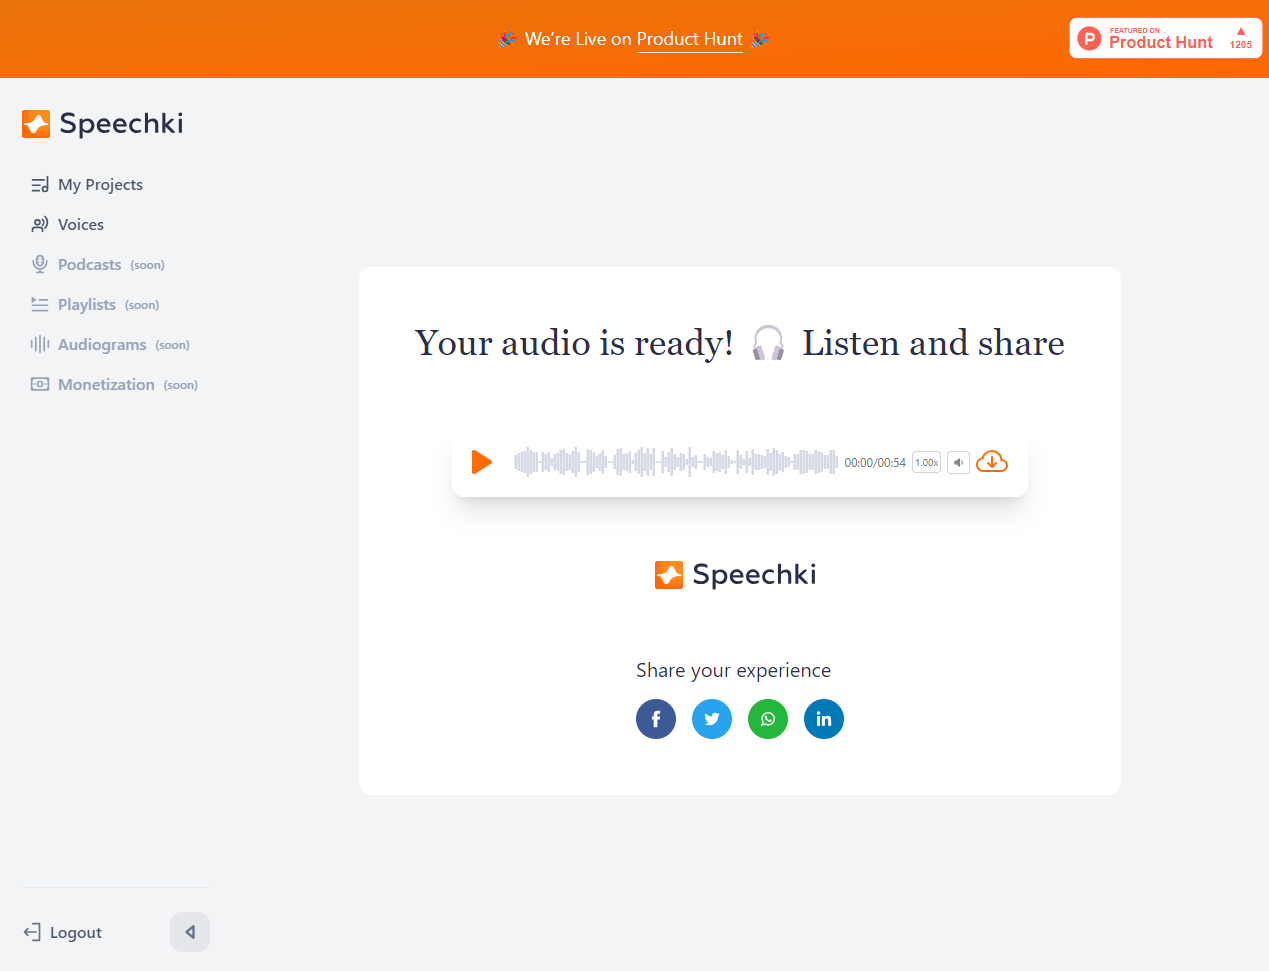
Language and Voice Selection
After registration, you'll gain access to your audio file and the full suite of Speechki's features.
One of these features is the "Voices" page. This is where you can browse the extensive list of voices in multiple languages and dialects available in Speechki. To make navigation easier, use the filter option to select the language you're interested in. Explore and find the voice that suits your needs the best!
One of these features is the "Voices" page. This is where you can browse the extensive list of voices in multiple languages and dialects available in Speechki. To make navigation easier, use the filter option to select the language you're interested in. Explore and find the voice that suits your needs the best!
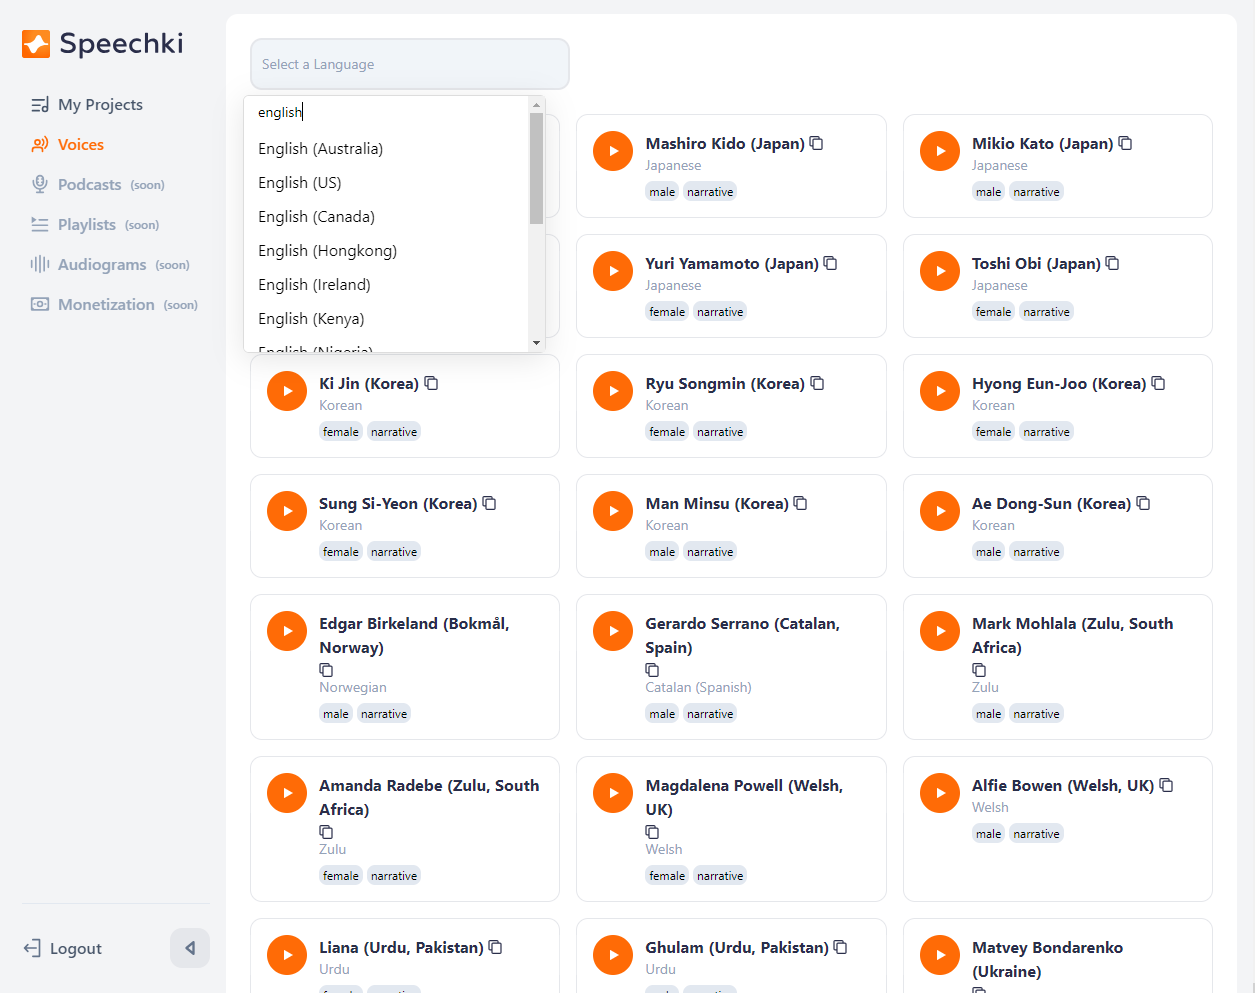
Once you're on the "Voices" page, you can browse through the available voices. You'll see a 'Play' button next to each voice - click it to listen to a sample.
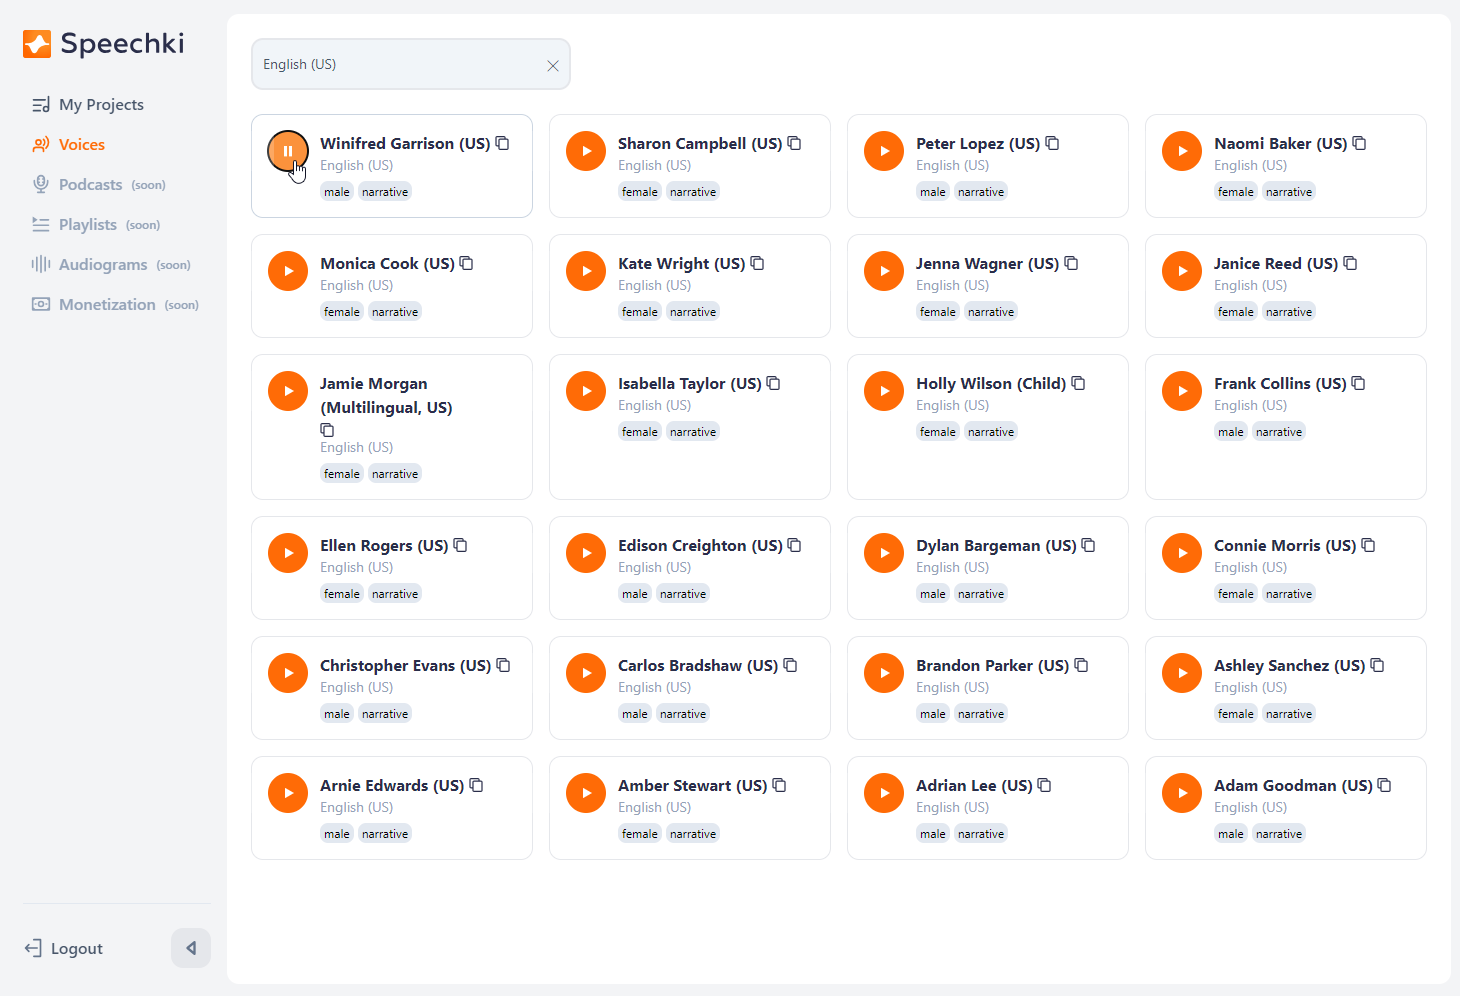
If you find a voice that fits your requirements and you'd like to use it for converting your text, click either on the name of the voice or the 'Copy' icon next to it. This will copy the voice ID to your clipboard.
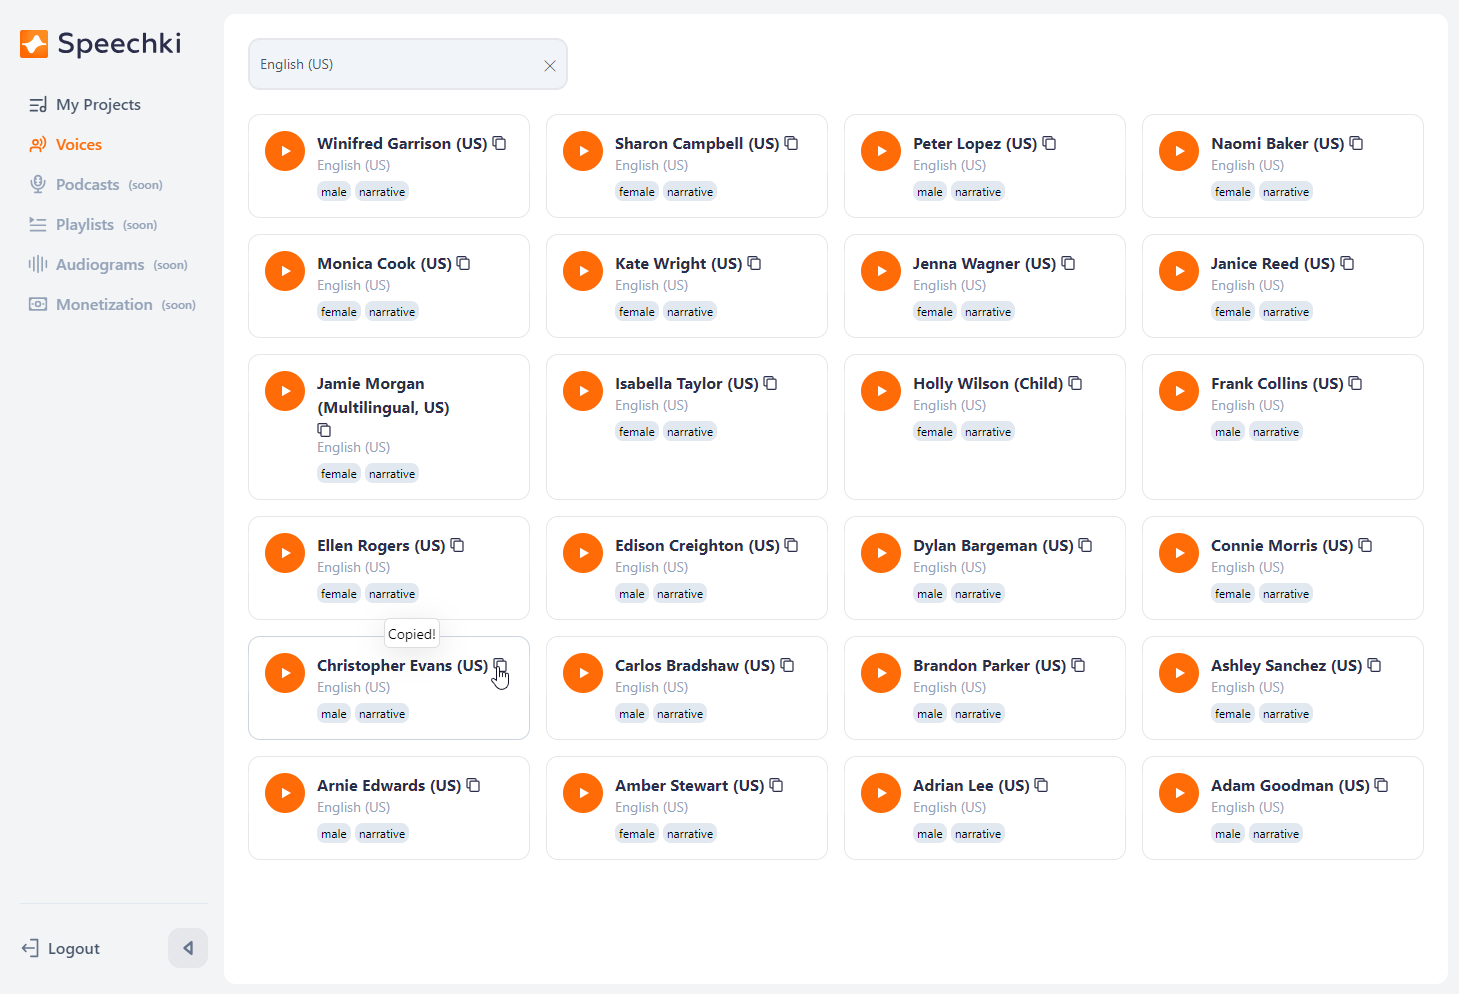
Once you've copied the ID, return to your ChatGPT conversation. In the chat input area, paste the copied voice ID and hit 'send' or press enter.
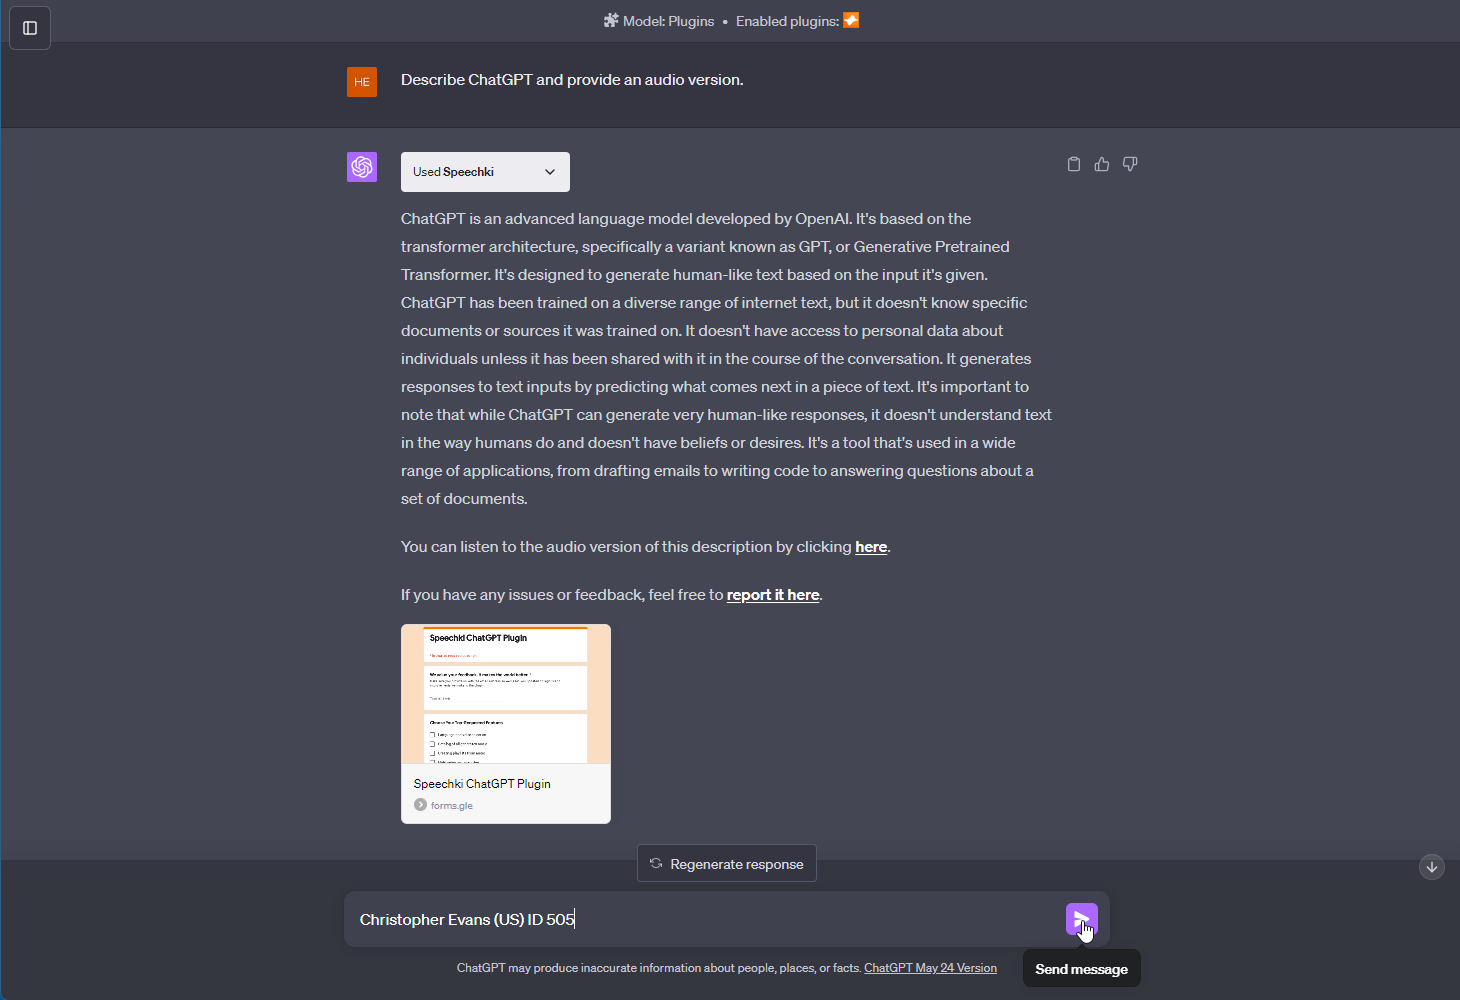
The Speechki plugin will then generate the same text you previously inputted using this new voice, and provide a new link for you to listen to it.
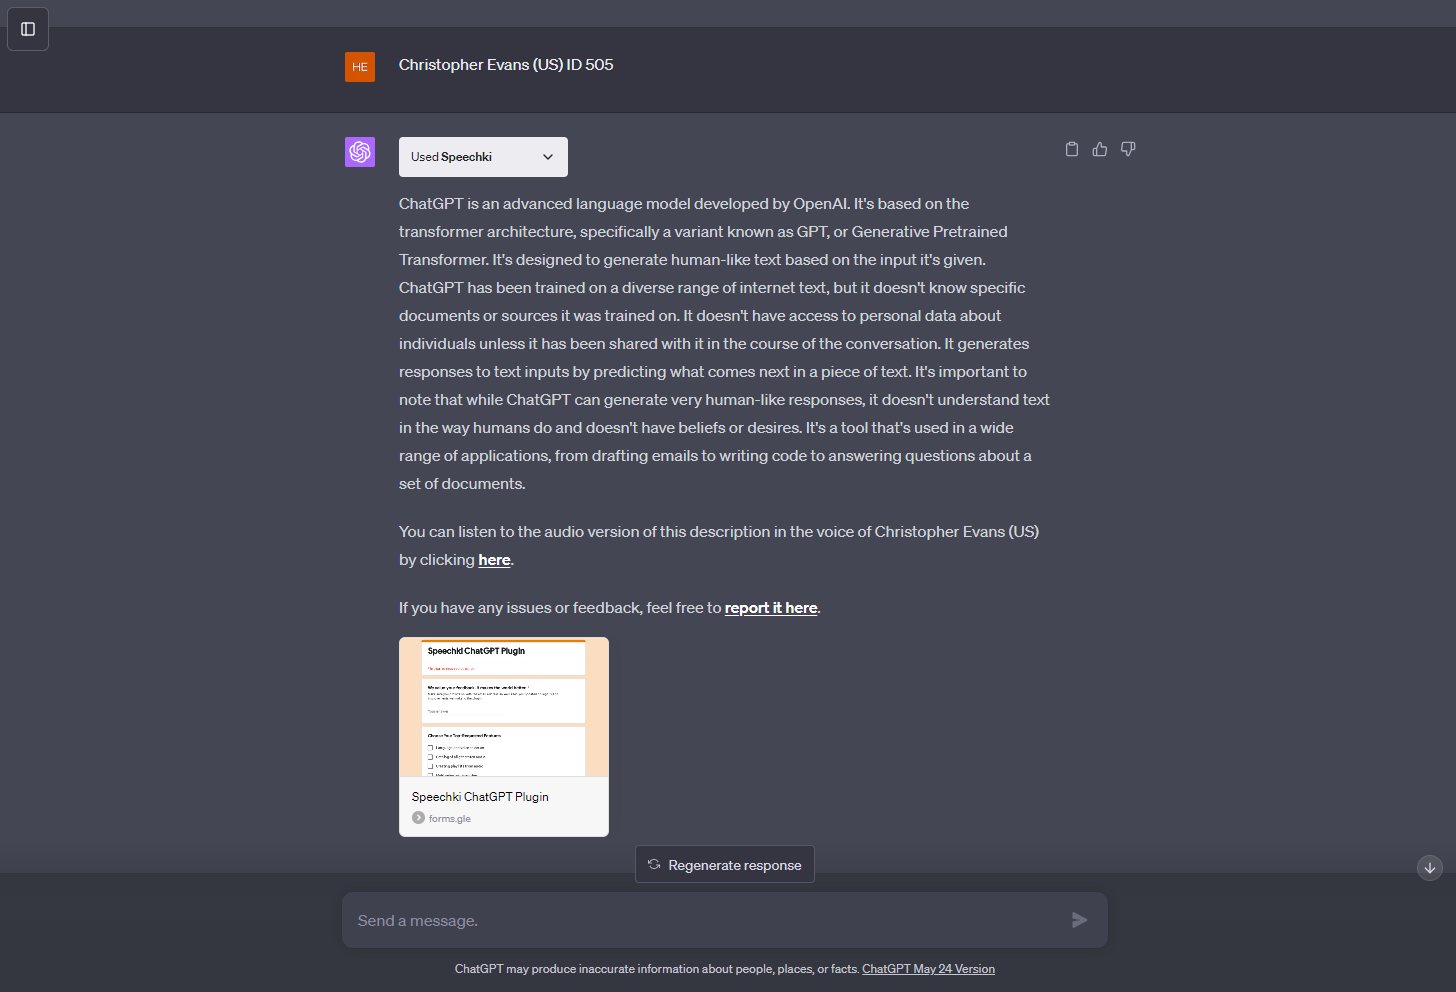
With this functionality, you can easily try out different voices for your text until you find the perfect match.
Projects
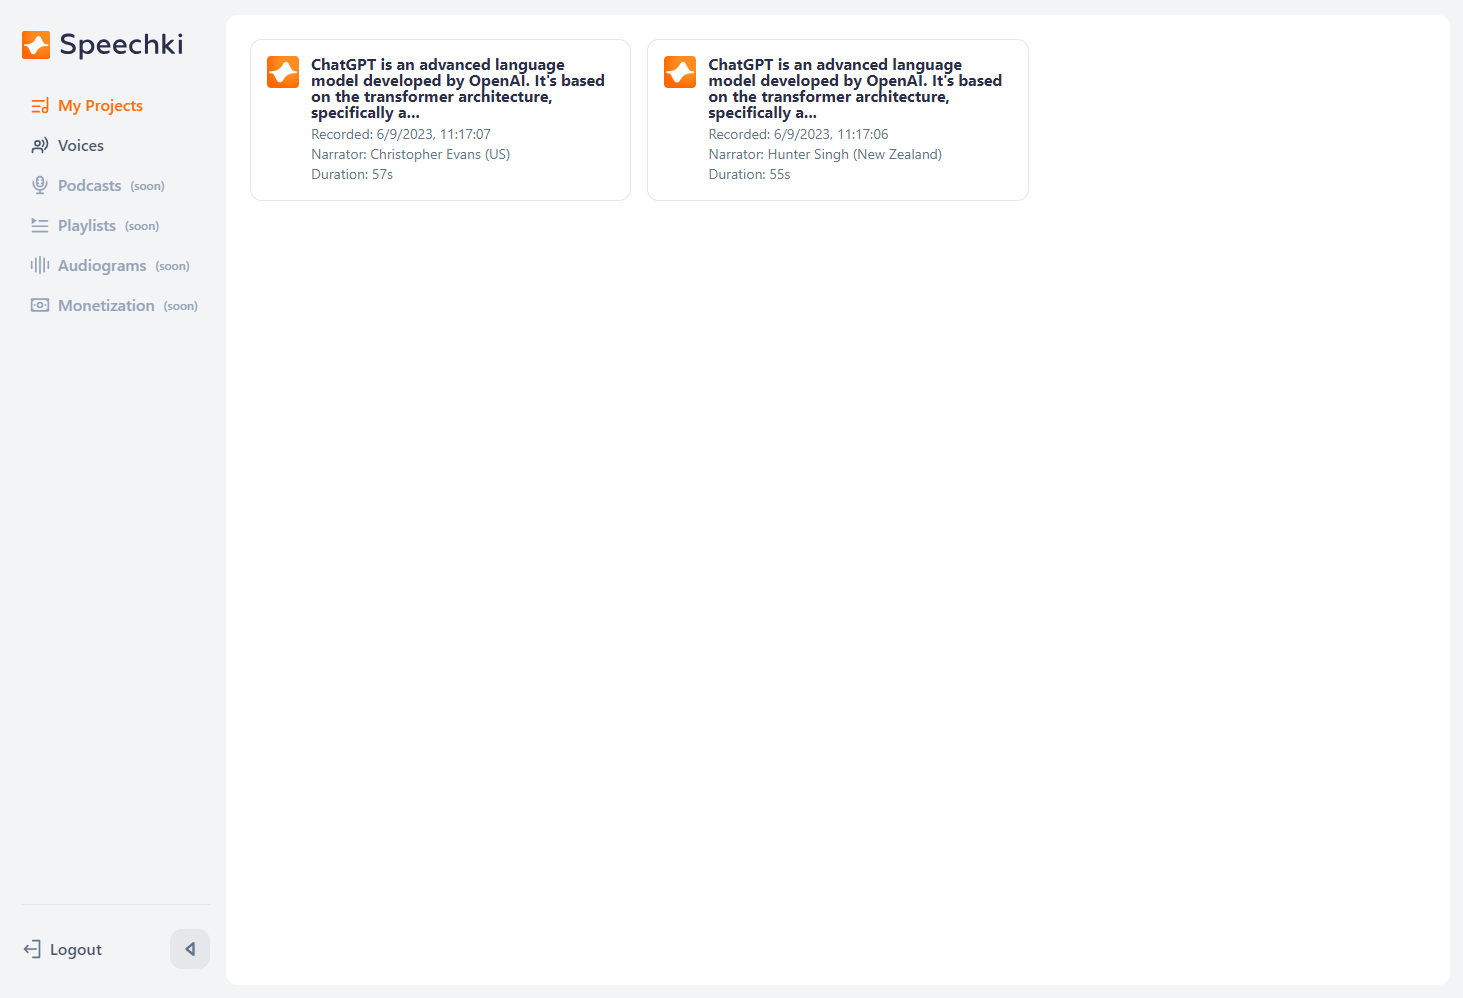
All your generated audio files are conveniently stored and available for you to access at any time on the "My Projects" page within the Speechki platform. This allows you to easily manage and revisit your audio files whenever you wish. Enjoy exploring the wide range of voices and creating your unique audio projects with the Speechki plugin!
This guide has provided you with the basics to get started using the Speechki ChatGPT Plugin. As Speechki continues to evolve, we'll update and extend this guide to cover new features and changes to the process. Be sure to check back for updates, and thank you for using the Speechki Plugin! Enjoy exploring the wide range of voices and creating your unique audio projects.

